Pages

Wednesday, January 11, 2012

Bending text in photoshop

Bending text in photoshop.


    Previous article. I was presented "Adding text to image" If you have not read. You can read here Adding text to image
   
   In this article. We will learn how to bending the text.
Bending text. It can help you add features and visual interest to pictures so mush. I think this article you must be satisfied.


1. After we start to type text into the picture


2. On the Option Bar, click to select the tool. As shown below


3. We will find Warp Text window


4. Choose the form to bend the text


5. For example, I chose  Arc. Then, we will have the option for adjust


Slide the slider. And observe the bending of the text.


Sample.


Thank you for visiting. You can comment or suggest it.

Adding text to image (Photoshop basics)

Adding text to image (Photoshop basics)

Welcome, everyone who has lost my weblog ^^. Here is a weblog about Photoshop tutorials, easy workshop for beginners

Adding text to an image is important and necessary for the photo retouching. Text can also add features and add more interesting to our image. In this article we will learn the basics about how to add text to images. Similar to type with Word, Excel or Office programs generally. In the Section how to add effect to the character, I will present in the next article.

1. Open up the desired image or create a new file with File --> New Then set the desired size


2. Select the Horizontal Type Tool as shown below


3. Set the font size, form, color


4. Click on the image, type some text and then press <Enter> or click the check mark as shown below


Has been completed

Then, recommended technical changes or modify fonts. We will use the Character palette to adjust

On the menu bar , click Window --> Character to open the pallet Character

Where do you want to change the text. You have to crop it

This is main menu used to adjust the font

1. Change the font.
2. Change colors, resize, compress, expand, adjust the distance between the characters, between the lines
3. Change to bold, italic, underline, etc.

This is an example

Finish

The next article I will present how to bending the text and adding text Effect.

Thank you for visiting my blog.

Tuesday, December 27, 2011

Create a halftone border in photoshop


      There are many steps, because I want to teach someone who has a few basic can do it immediately. As someone who specializes in photoshop are found this article. If you think this article is not yet complete. You can comment or suggest me. I am ready to receive any comments.

Get started.

1. Open up the desired image by File --> New, click the image and press Open


2. Drag the master image to put on the paper icon to copy the layer


3. Select ‘Elliptical Marquee Tool’ to create a circle. (You can select ‘Rectangular Marquee Tool’ to create a rectangle)


4. Drag the mouse to create a Selection on the image


5. Inverse selection by Select -> Inverse (or use the shortcut keys Shift + Ctrl + I on your keyboard)

6. Click the icon on the toolbox as shown below. The image is as follows


7. Choose Filter -> Pixelate -> Color Halftone and enter the desired value in the Max. Radius, then press OK


8. The image will be as the below


9. Click the icon on the tool box as shown below. The image is as follows


10. Press Delete on your keyboard and press Ctrl + D to deselect Selection

11.Double-click the Background Layer. A new window will pop up, press OK, This process changed the Background layer to the normal layer (layer 0)


12. This is the Layer 0, we will work at this layer


13. At the Style window (If you are not found, click Window -> Style) Choose the Chiseled Sky or try another one if the sample is desirable


14. The image will be as the below


15. Click on the paper icon to create a new layer. Then move this new layer to place above the Background Copy layer, we will work at this layer


16. We will add interest to the picture with Sparkle brush and Air Bubble Brush

17. This is a picture successfully


18. Save the file. (Do not forget to set a new name with the command save as)

Thank you for visit my blog. Let's enjoy with retouching. ^^

Friday, October 28, 2011

"Sparkle Brush" create a new Brush for Photoshop

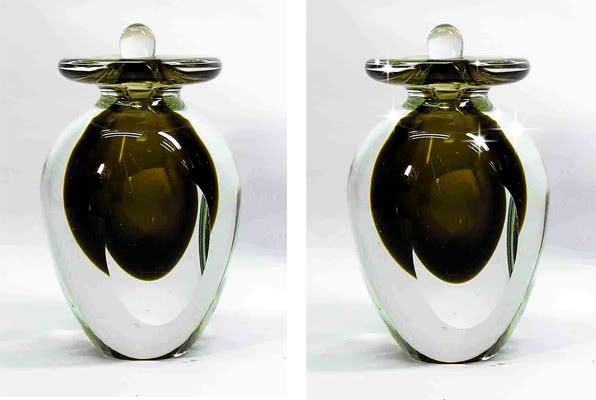
Today, let’s create a new Brush for Photoshop. In this time, I suggest Sparkle brush. Brush to add shine to the picture, glassware, silverware, diamond including the general imaging to more interesting.

Sample (thanks for the picture from http://www.igetweb.com/)


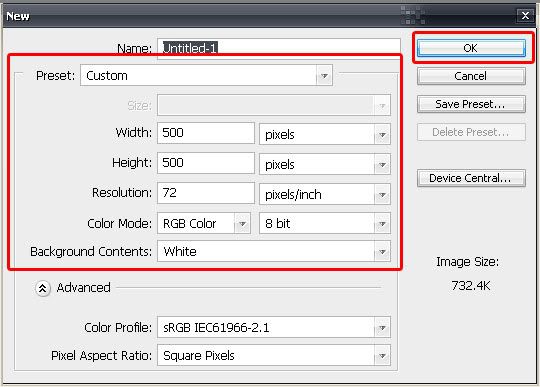
1. Click File> New to create the new file , then set the size as the image bellow, and then press OK.


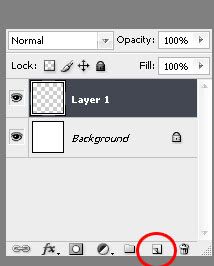
2. Click the button like the image you see below.


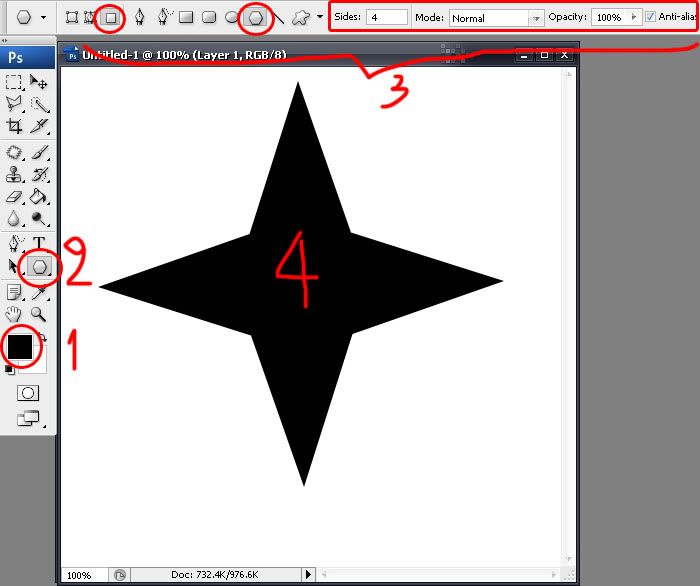
3. Set the forground color to black, select the Polygon Tool, settings as shown.. Then drag the mouse to create 4 pointed star


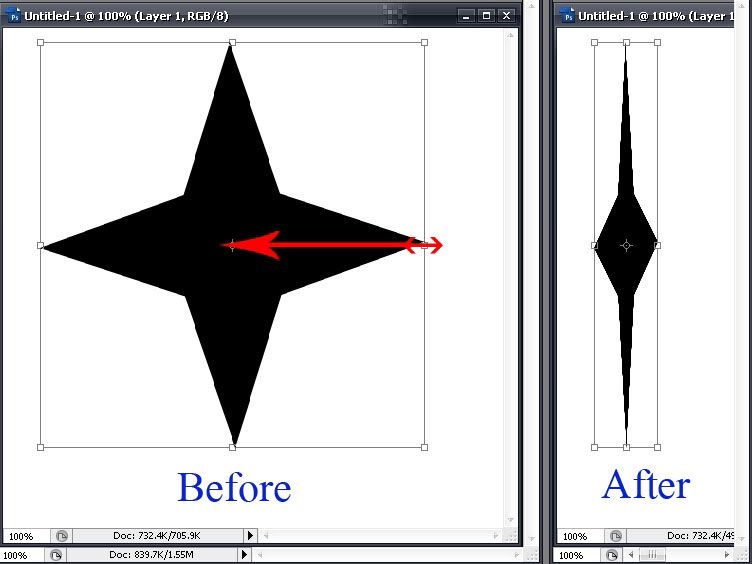
4. Click Edit > Free Transform and drag the mouse to compress images, then press Enter


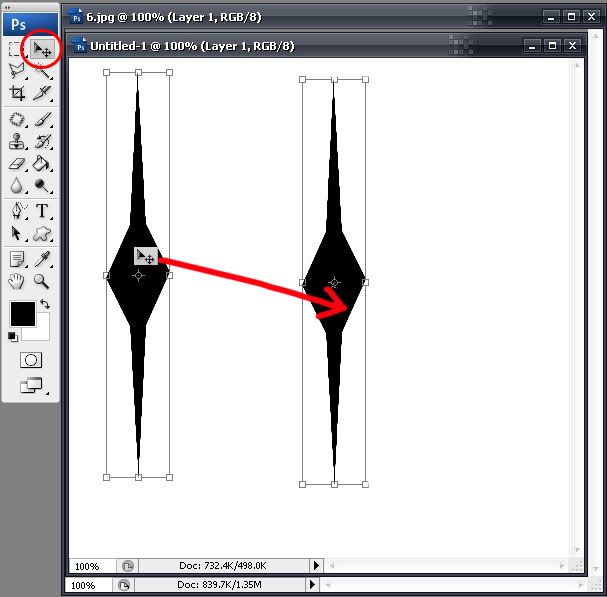
5. Use the Move Tool drag the mouse to move it into the middle


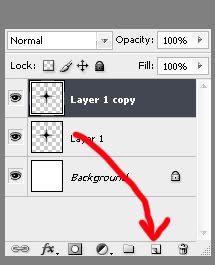
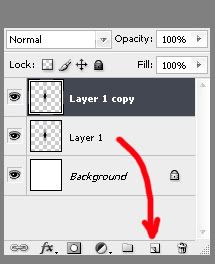
6. Copy layer by click on the Layer 1 and drag the mouse to place the button below


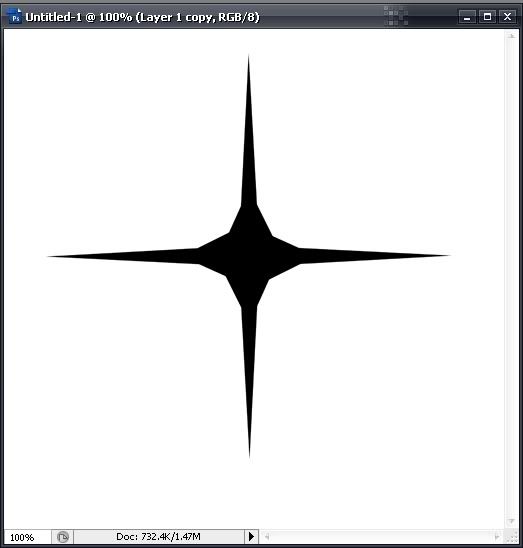
7. Click Edit> Transform > Rotate 90 CW will be shown.Then right click on the Layer 1 copy and select the command  Merge Down


8. Copy layer by click on the Layer 1 and drag the mouse to place the button below


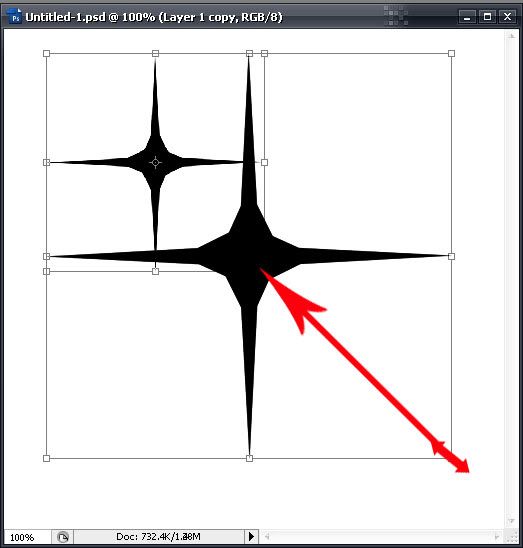
9. Click Edit> Free Transform and drag the mouse to compress images. and then press Enter


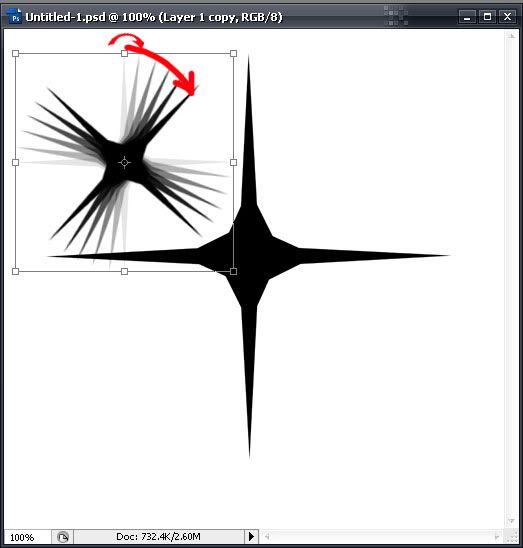
10. Click  Edit> free Transform and drag the mouse to rotate the image about 45 degrees, then press Enter


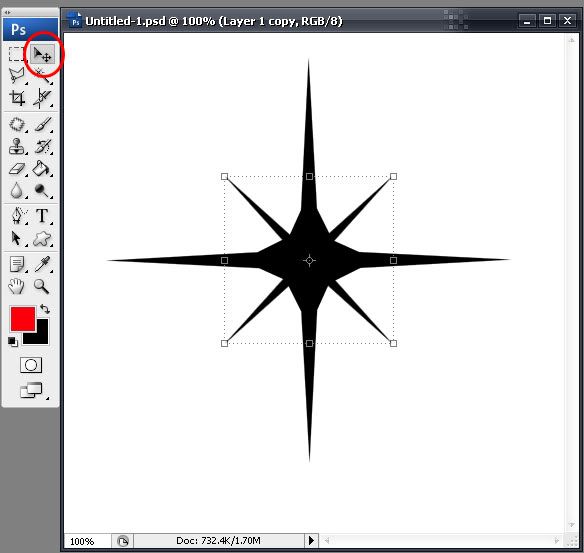
11. Use the Move Tool drag the mouse to move it into the middle


12. Click the Layer> Flatten Image to merge the layers.


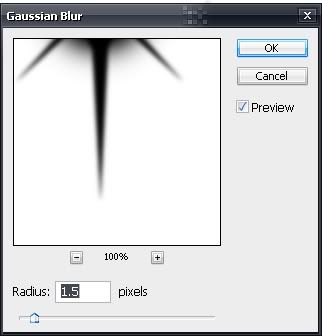
13. Click Filter> Blur> Gaussian Blur and set Radius value of about 1-2 pixels, then press OK


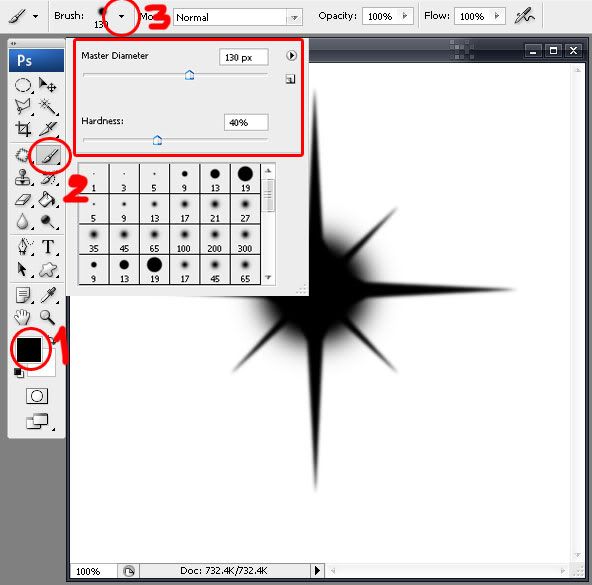
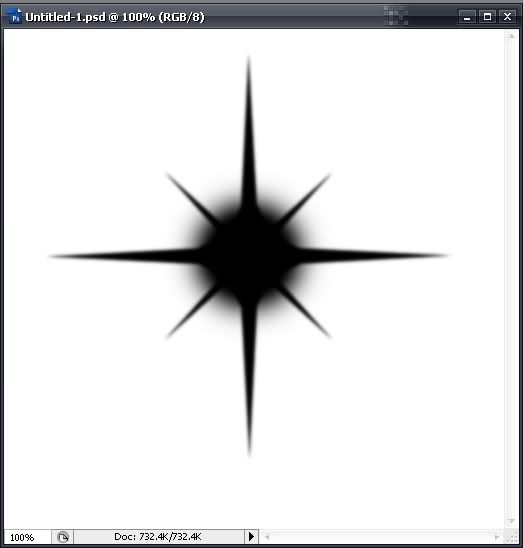
14. Set the forground color to black, select the Brush Tool and set the brush Mater Diameter about 130 px, Hardness = 40%


15.   click on a picture in the middle  as the sample


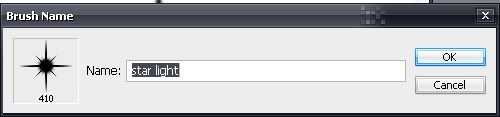
16. Click Edit> Define Brush Preset, set the name for Brush , then press OK


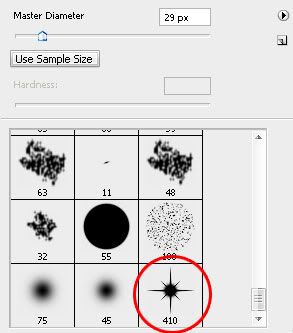
17. The new brush, it will appear at the bottom as below


That's it. We will have a nice brush to creative the image.

Thursday, October 27, 2011

Free download : Paper CD jackets

     If you have a lot of CDs or DVDs, but no where to store it. I would like to suggest the Paper CD jackets that you can download it for free.

Sample


       After you have sucessfully downloaded.Just to print with  the paper size A4. then cut along the edges,roll up and stick them with glue.


Canon PIXMA MG5320 Wireless Inkjet Photo All-in-One Printer (5291B019)